

 Pulse
Pulse Lexis
Lexis Vera
Vera Aegis
Aegis Prism
Prism Nucleus
Update your details
1
Open your profile
Select your initials at the top right, then Account settings.
2
Change your name if you need to
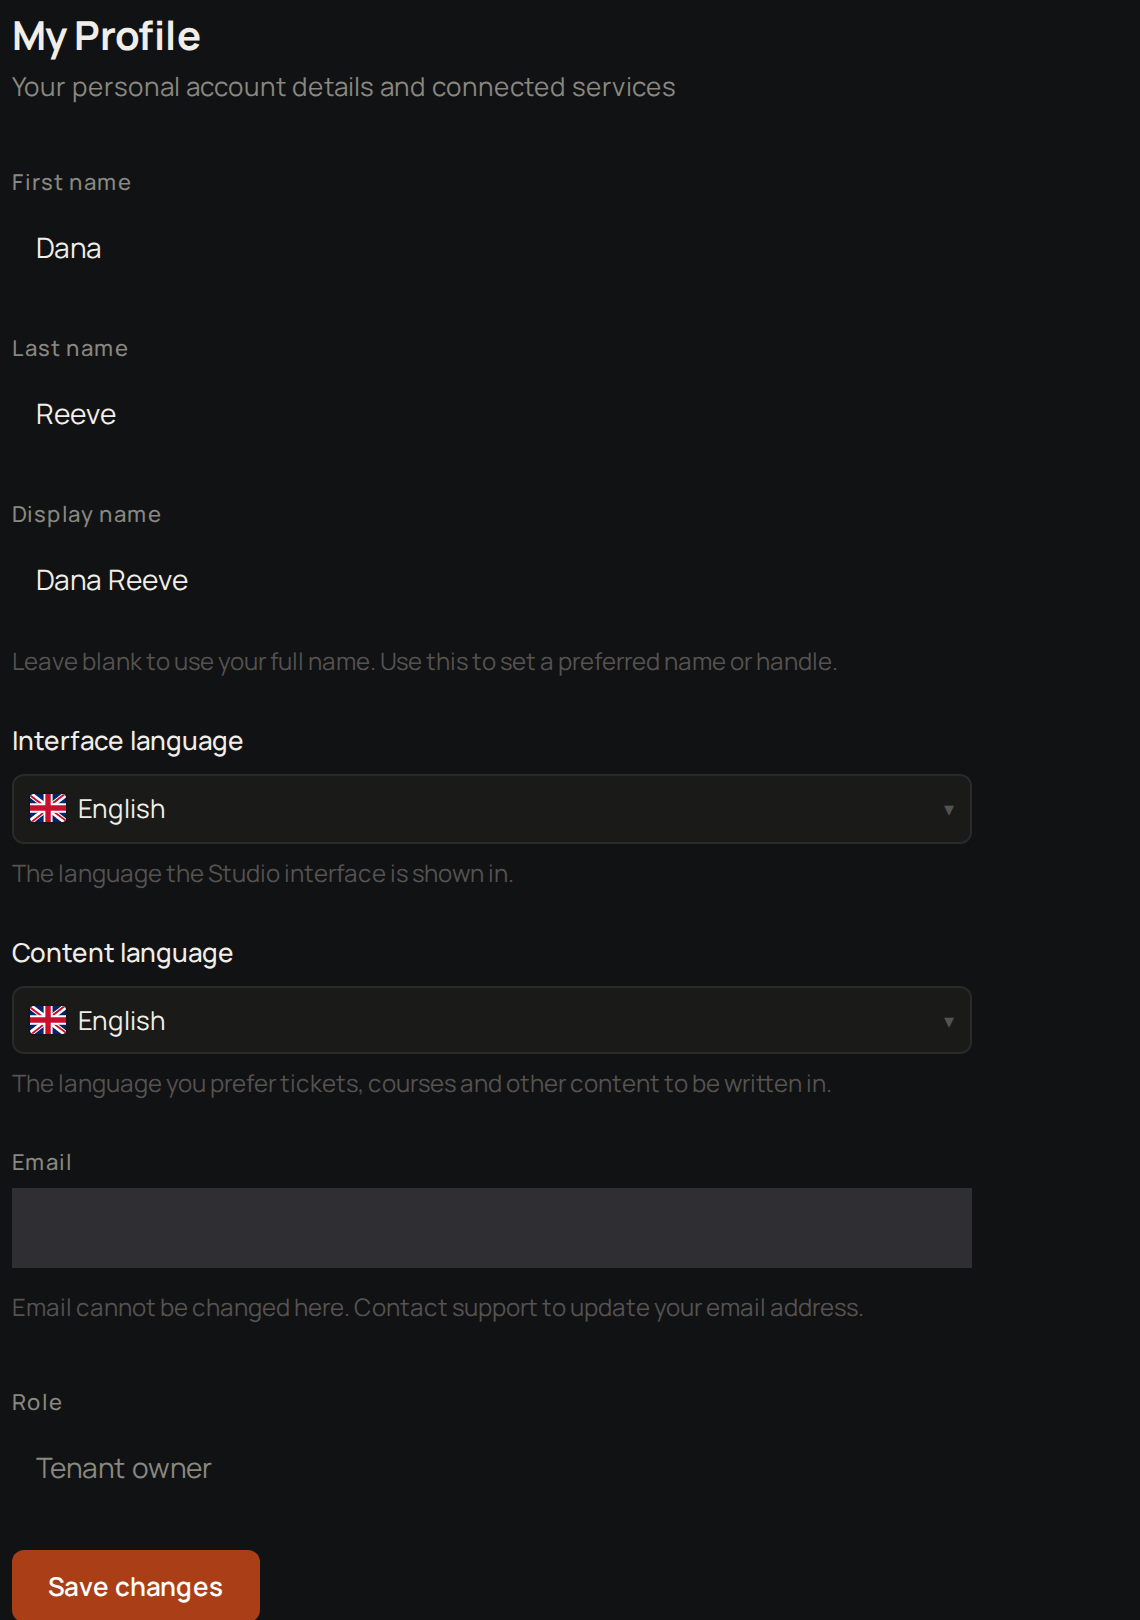
If your name needs changing, edit it.
3
Set a display name if you want one
If you prefer to be known by something else, set a Display name.
4
Choose your interface language
Choose your Interface language. This is the language Studio is shown in.
5
Choose your content language
Choose your Content language. This is the language you would like tickets, courses and other content in.
6
Save
Select Save changes.
Turn on two-factor authentication
With two-factor authentication on, Studio asks for a code from an authenticator app when you sign in.1
Start
Under Two-factor authentication, select Enable two-factor authentication.
2
Scan the code
Scan the QR code with your authenticator app.
3
Enter the key if you cannot scan
If you cannot scan the QR code, enter the key shown below it instead.
4
Enter the code
Type the 6-digit code your app shows.
5
Copy your recovery codes
Select Copy all or Download as .txt.
6
Keep them safe
Keep the codes somewhere safe. Each one lets you sign in once if you lose your authenticator.
7
Confirm you saved them
Tick I have saved my recovery codes.
8
Finish
Select Done.
Connect Gmail
1
Start
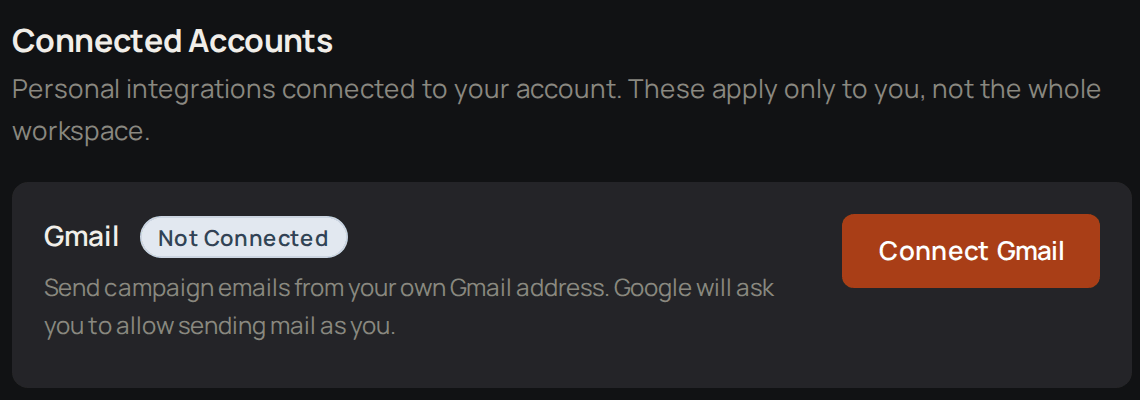
Under Connected Accounts, select Connect Gmail.
2
Allow access
Allow access when Google asks.
3
Turn on reply detection if you want
If you want to see replies to your campaigns in your Pulse Inbox, select Enable reply detection.
4
Confirm with Google
If you turned on reply detection, confirm access with Google again.