

 Pulse
Pulse Lexis
Lexis Vera
Vera Aegis
Aegis Prism
Prism Nucleus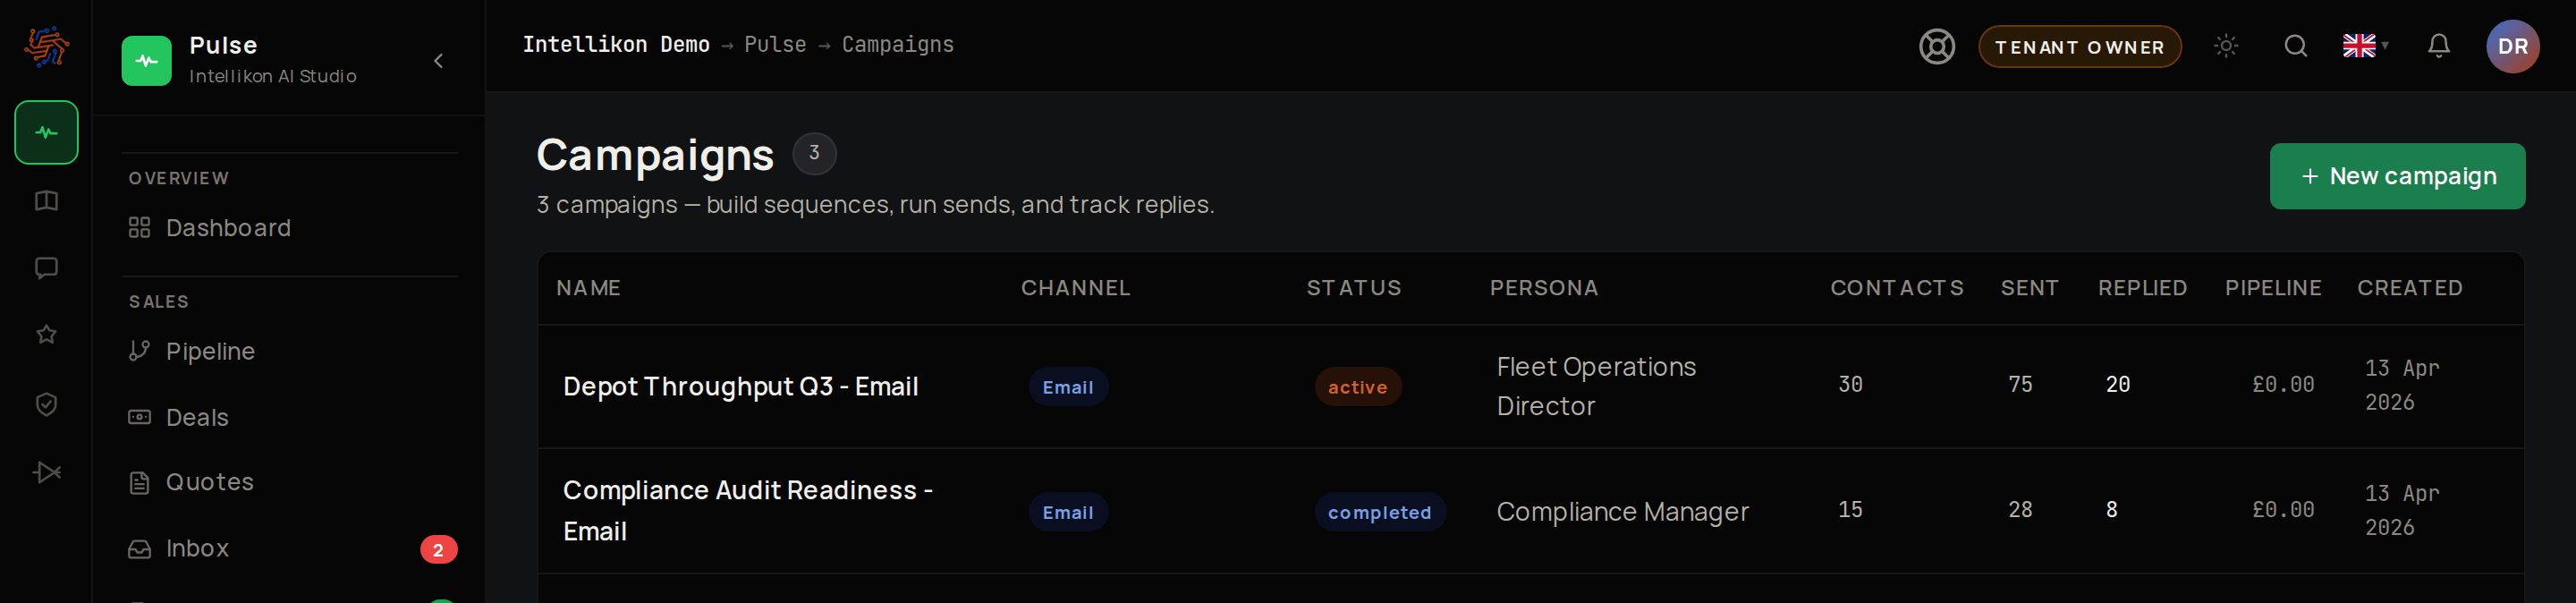
Before you start
You need at least one persona and one template, and the contacts you want to reach. Campaign emails go out through your Gmail, so connect Gmail under Account settings first. Turn on Enable reply detection there too, so replies reach your inbox and Stop on reply can work.Create a campaign
1
Start a campaign
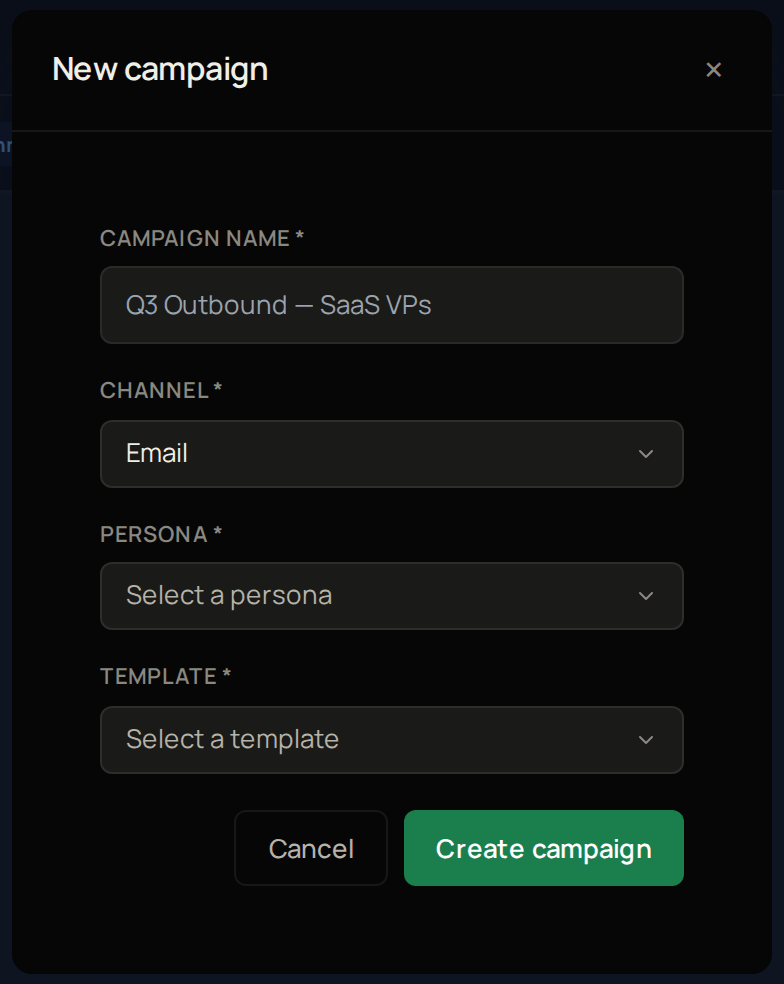
Select Campaigns, then New campaign.
2
Name it
Enter a Campaign name.
3
Keep the channel
Leave Channel at Email.
4
Choose the persona
Pick the Persona.
5
Choose the template
Pick the Template.
6
Create it
Select Create campaign.
Enrol contacts
1
Open the list
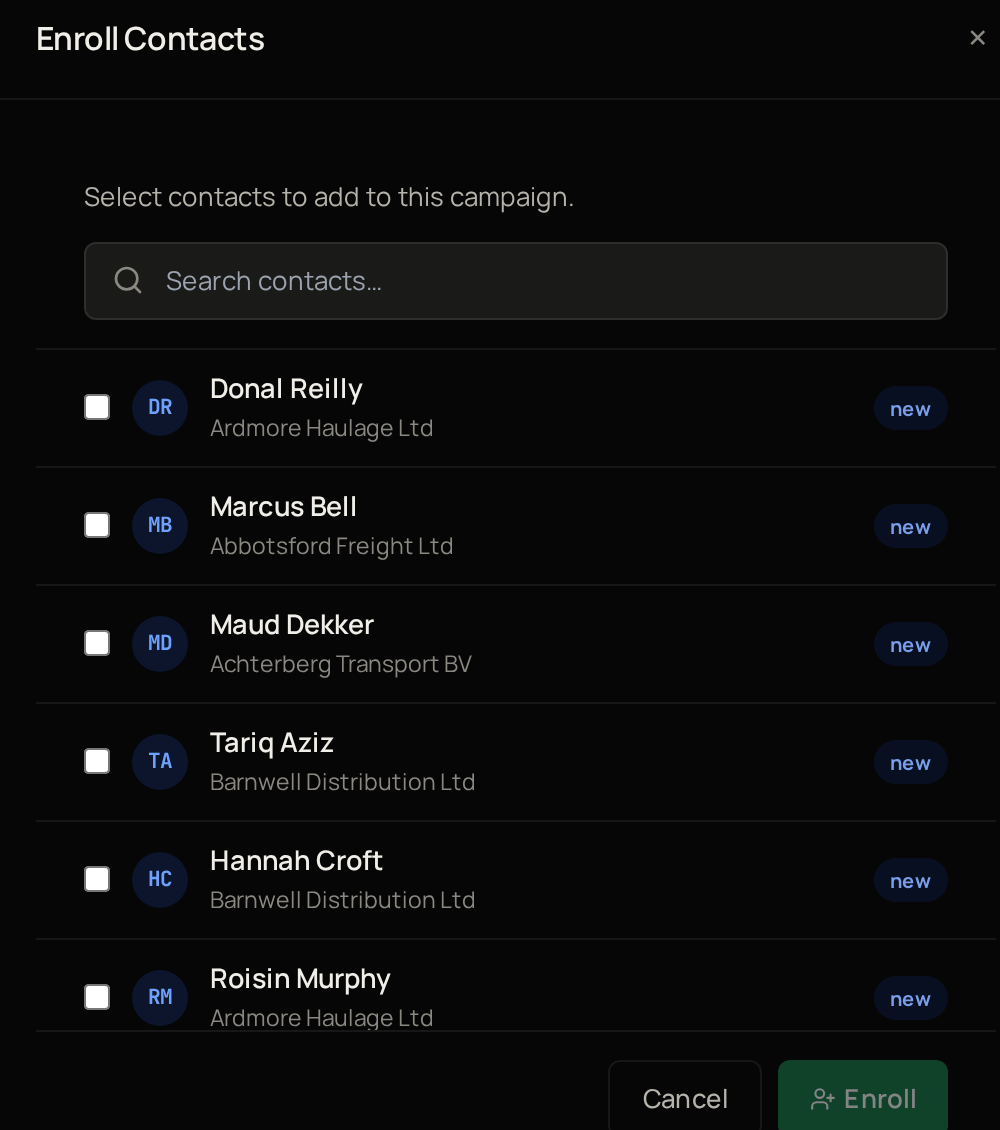
On the campaign page, select Enroll Contacts.
2
Find your contacts
Search for contacts.
3
Pick your contacts
Tick the ones to add.
4
Confirm
Select Enroll.
Plan the sequence
1
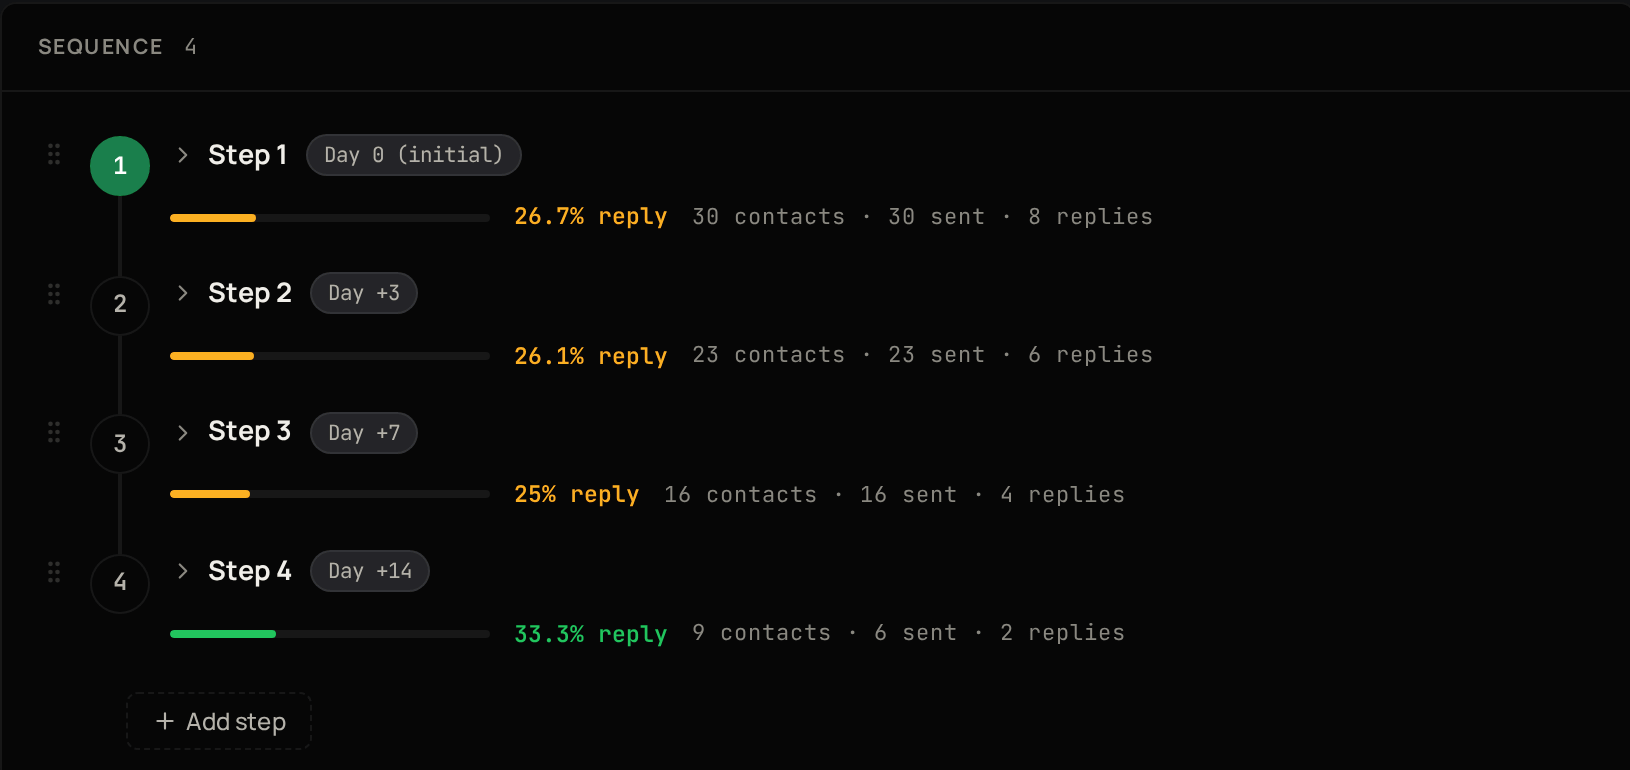
Add a step
Select Add step to add another.
2
Set the wait
Set its Delay (days).
3
Save
Select Save changes.
Write and send the first message
If your workspace translates outgoing messages, translate each draft and check it before you approve or send.1
Choose the contact
Under Generate message on the right of the campaign page, choose the contact.
2
Ask Pulse to write it
Select Generate.
3
Find your drafts
When the page shows drafts waiting for approval, select Review.
4
Check it
Read the draft.
5
Change it if needed
If you want to change anything, select Edit.
6
Drop a draft you do not want
If you do not want the draft, select Discard.
7
Approve it
Select Approve.
8
Send it
Select Send.
Follow the results
The Performance panel follows your contacts from enrolled to replied, with your reply rate and a weekly chart of sends and replies. The Messages list below shows every message; filter it to see drafts, sent messages or replies. When a campaign has run its course, you can delete it.Delete a campaign
1
Start the deletion
Under Danger zone, select Delete campaign.
2
Confirm
Select Yes, delete.