
An account is a company you sell to. A contact is a person at that company. Every contact in Pulse belongs to an account. If the company is not in Pulse yet, you add it as you add the contact. Otherwise, accounts are view only in Pulse; they are managed in Studio settings under Accounts.
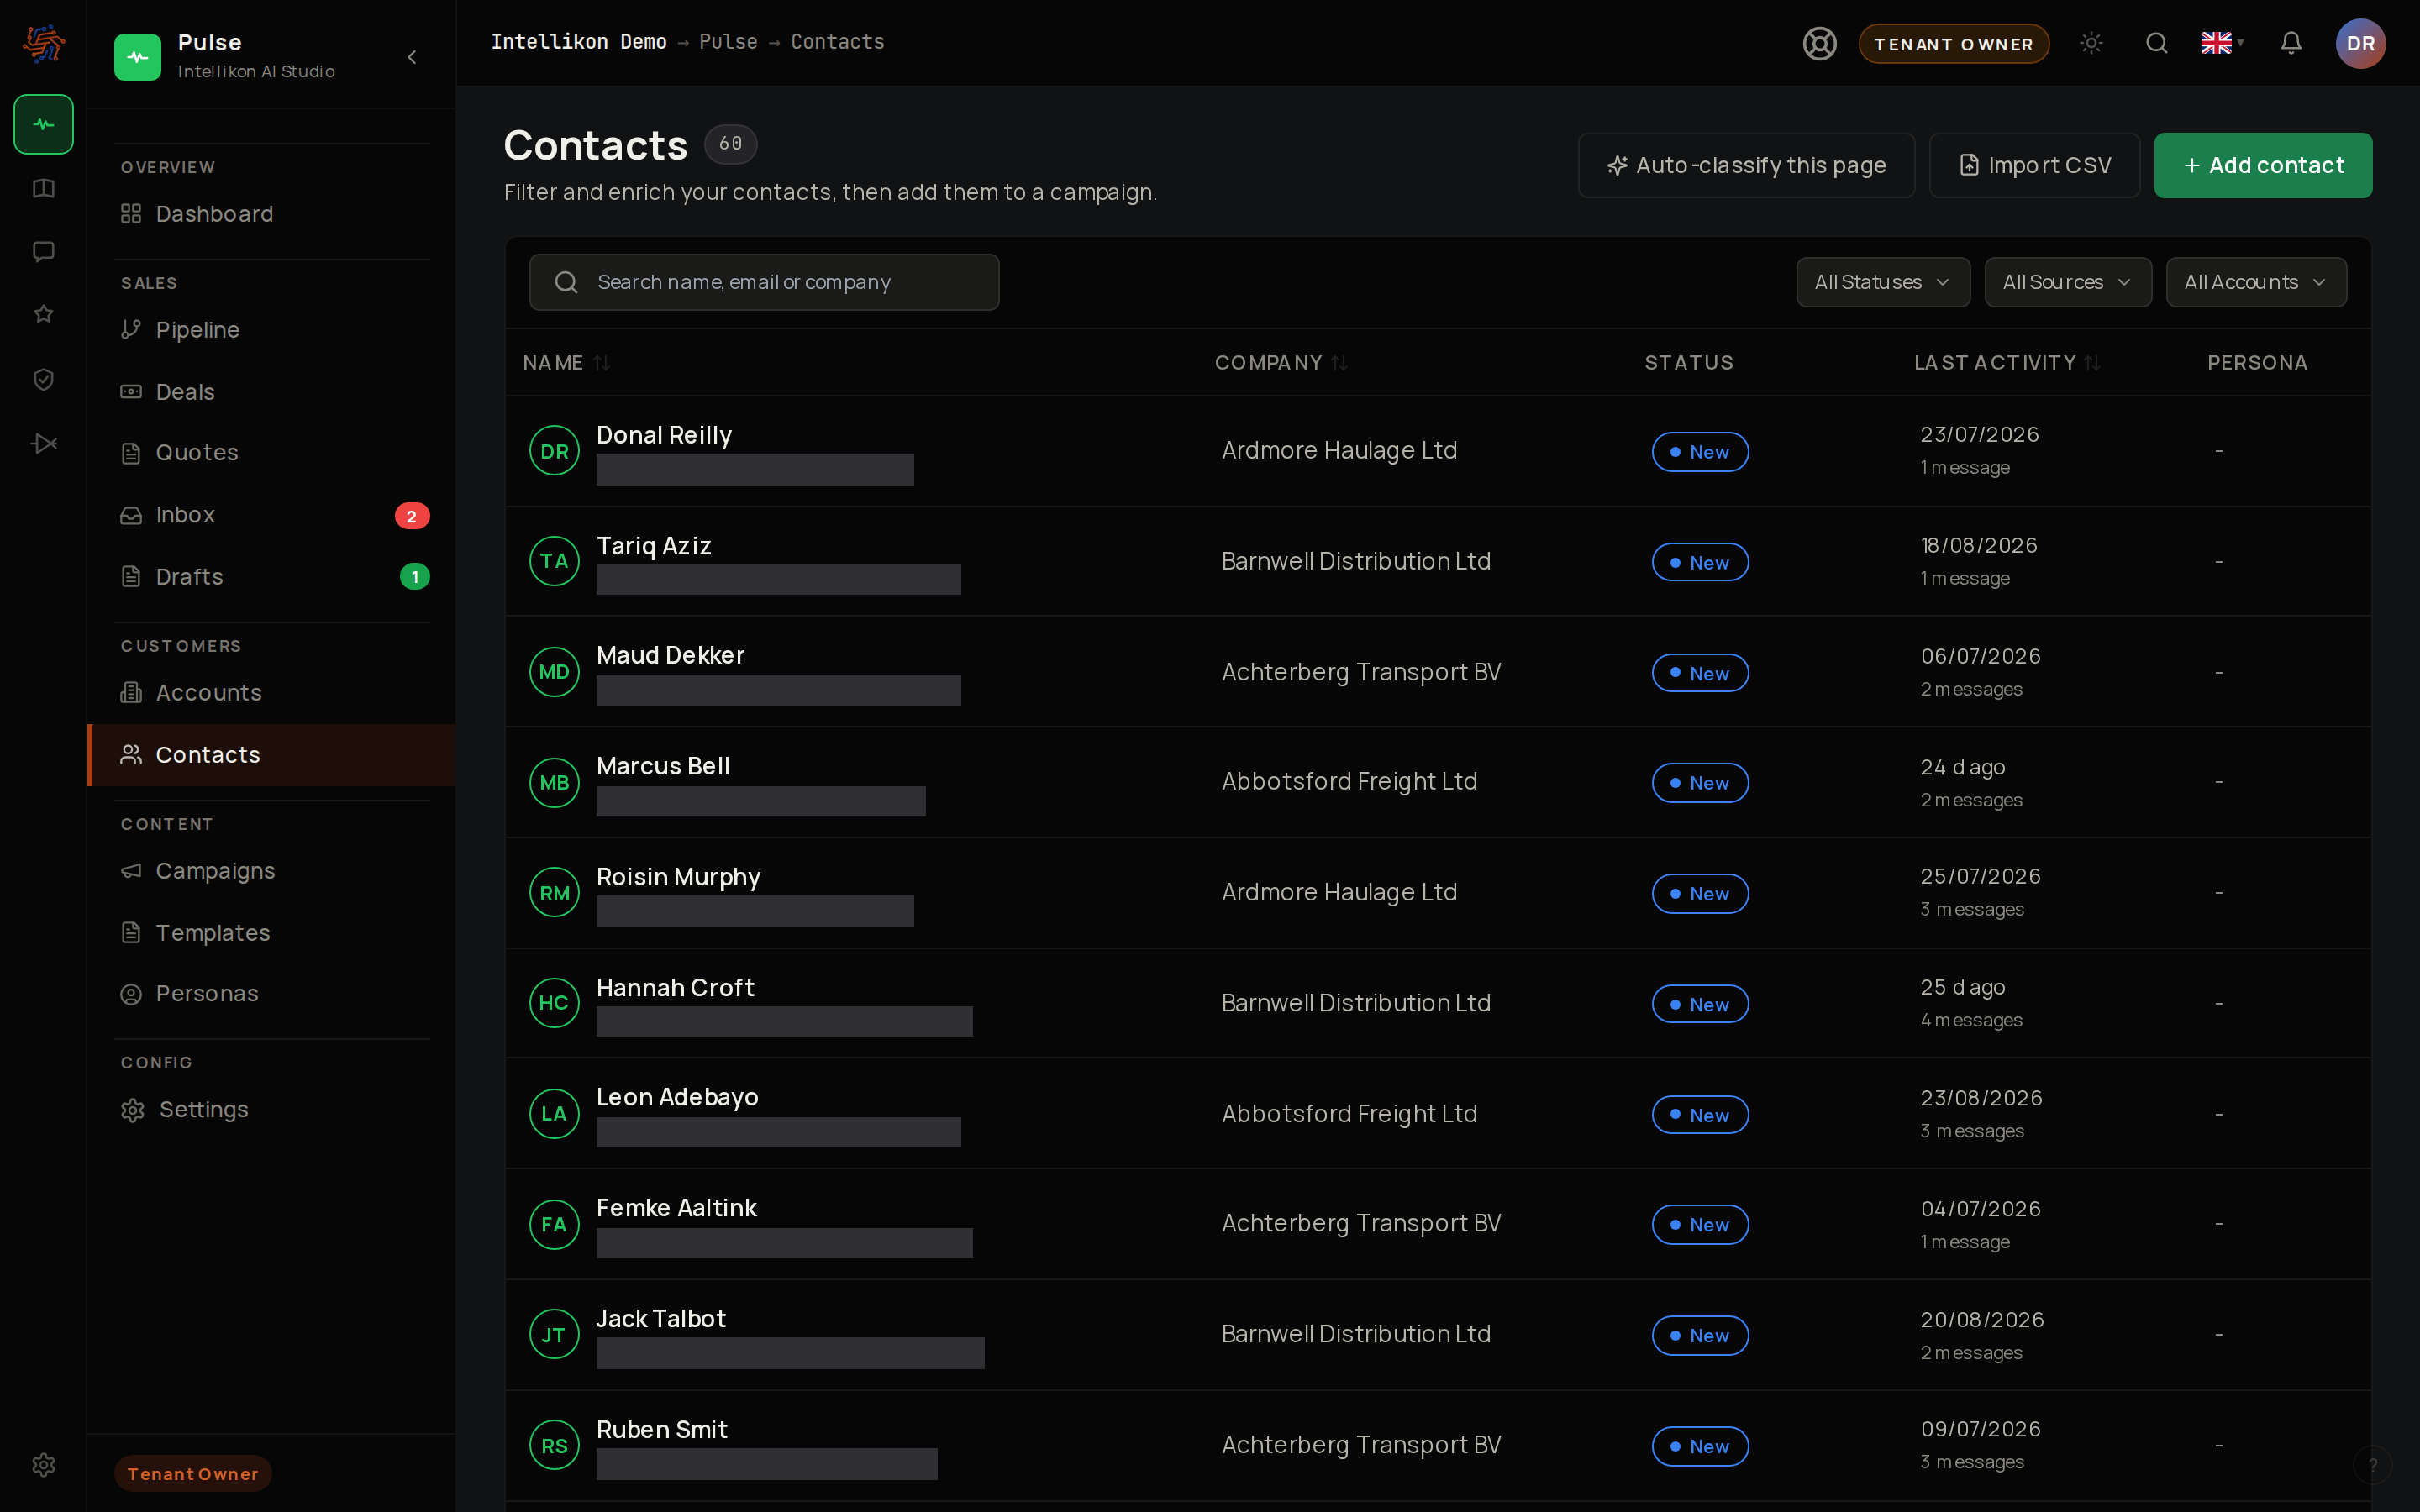
The Contacts list in Pulse, with search, filters and the Add contact button.

Add a contact

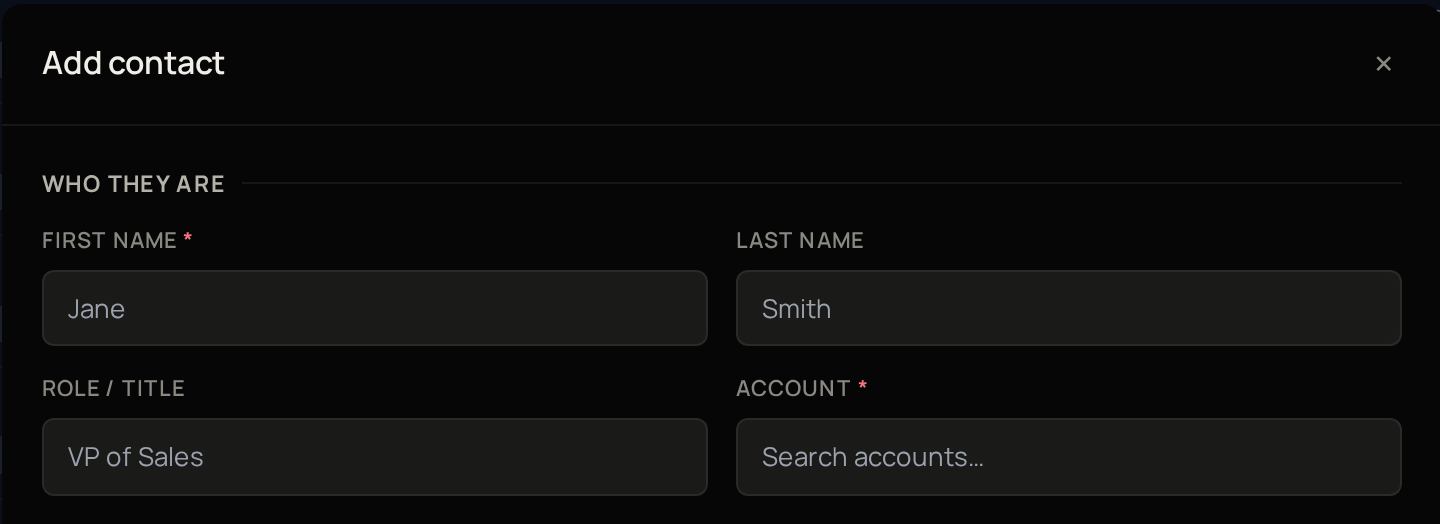
The top of the Add contact window, with First name, Last name, Role / Title and Account.
1

Open the form

Select Contacts, then Add contact.
2

Add their first name

Enter their First name.
3

Add their last name

Enter their Last name.
4

Add their role

If you know their role, add it.
5

Choose their company

Choose the Account they work for.
6

Type a company that is not listed

If the company is not listed, type its name.
7

Create the company

If you typed a new company, select Create.
8

Give the new company's domain

If you created the company, enter its Account Domain.
The form now shows who the contact is and the company they work for. Next, finish adding the contact.

Finish adding a contact

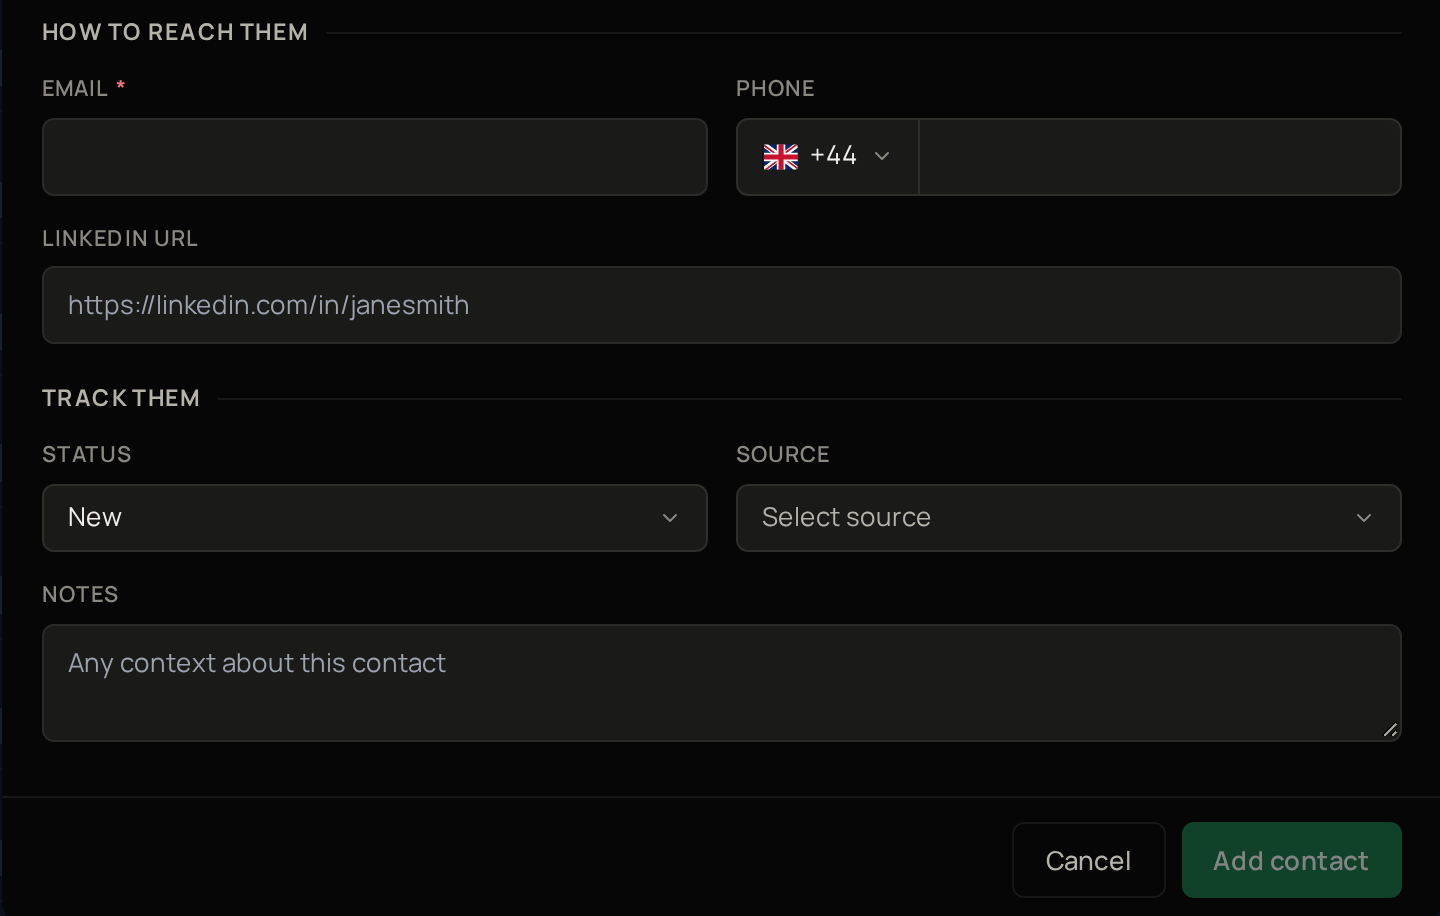
The lower half of the Add contact window, with Email, Phone, LinkedIn URL, Status, Source, Notes, and the Cancel and Add contact buttons.
Carry on in the Add contact form.
1

Add their email

Enter their Email.
2

Add a phone number

If you have their phone number, add it.
3

Add their LinkedIn

If you have their LinkedIn URL, add it.
4

Set their status

Leave Status at New unless you have already been in touch.
5

Say where they came from

Under Source, choose where the contact came from.
6

Save

Select Add contact.
The contact now appears in your list with the status New. If you created a company, it now shows under Accounts too. Next, add them to a campaign.

Import contacts from a spreadsheet

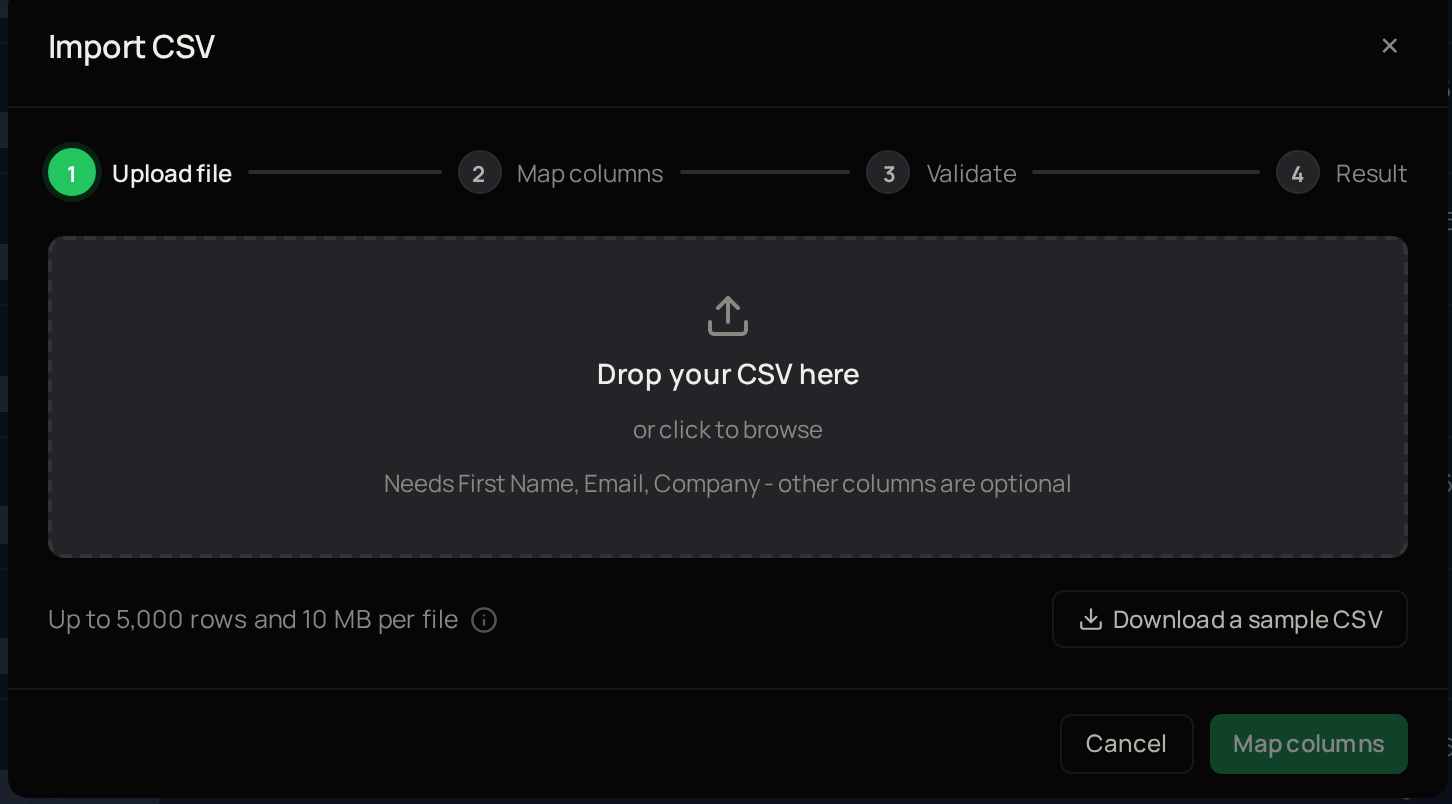
The Import CSV window at the Upload file step.
1

Open the import

Select Contacts, then Import CSV.
2

Prepare your file

Select Download a sample CSV if you want a file with the right columns already in place.
3

Upload it

Drop your file into the window, or click to browse for it.
4

Go on to your columns

Select Map columns.
5

Match your columns

Tell Pulse which column in your file holds each piece of information.
6

Check your file

Select Validate.
7

Review the results

Review what Pulse found.
8

Import

Select Import contacts.
The Result step shows what was added. Contacts already in Pulse are skipped, so no one is added twice. Pulse matches each row to an account by its domain or website first, then by its company name, and adds any company it cannot match as a new account. Imported contacts start at New. Next, add them to a campaign.

See everything about one contact

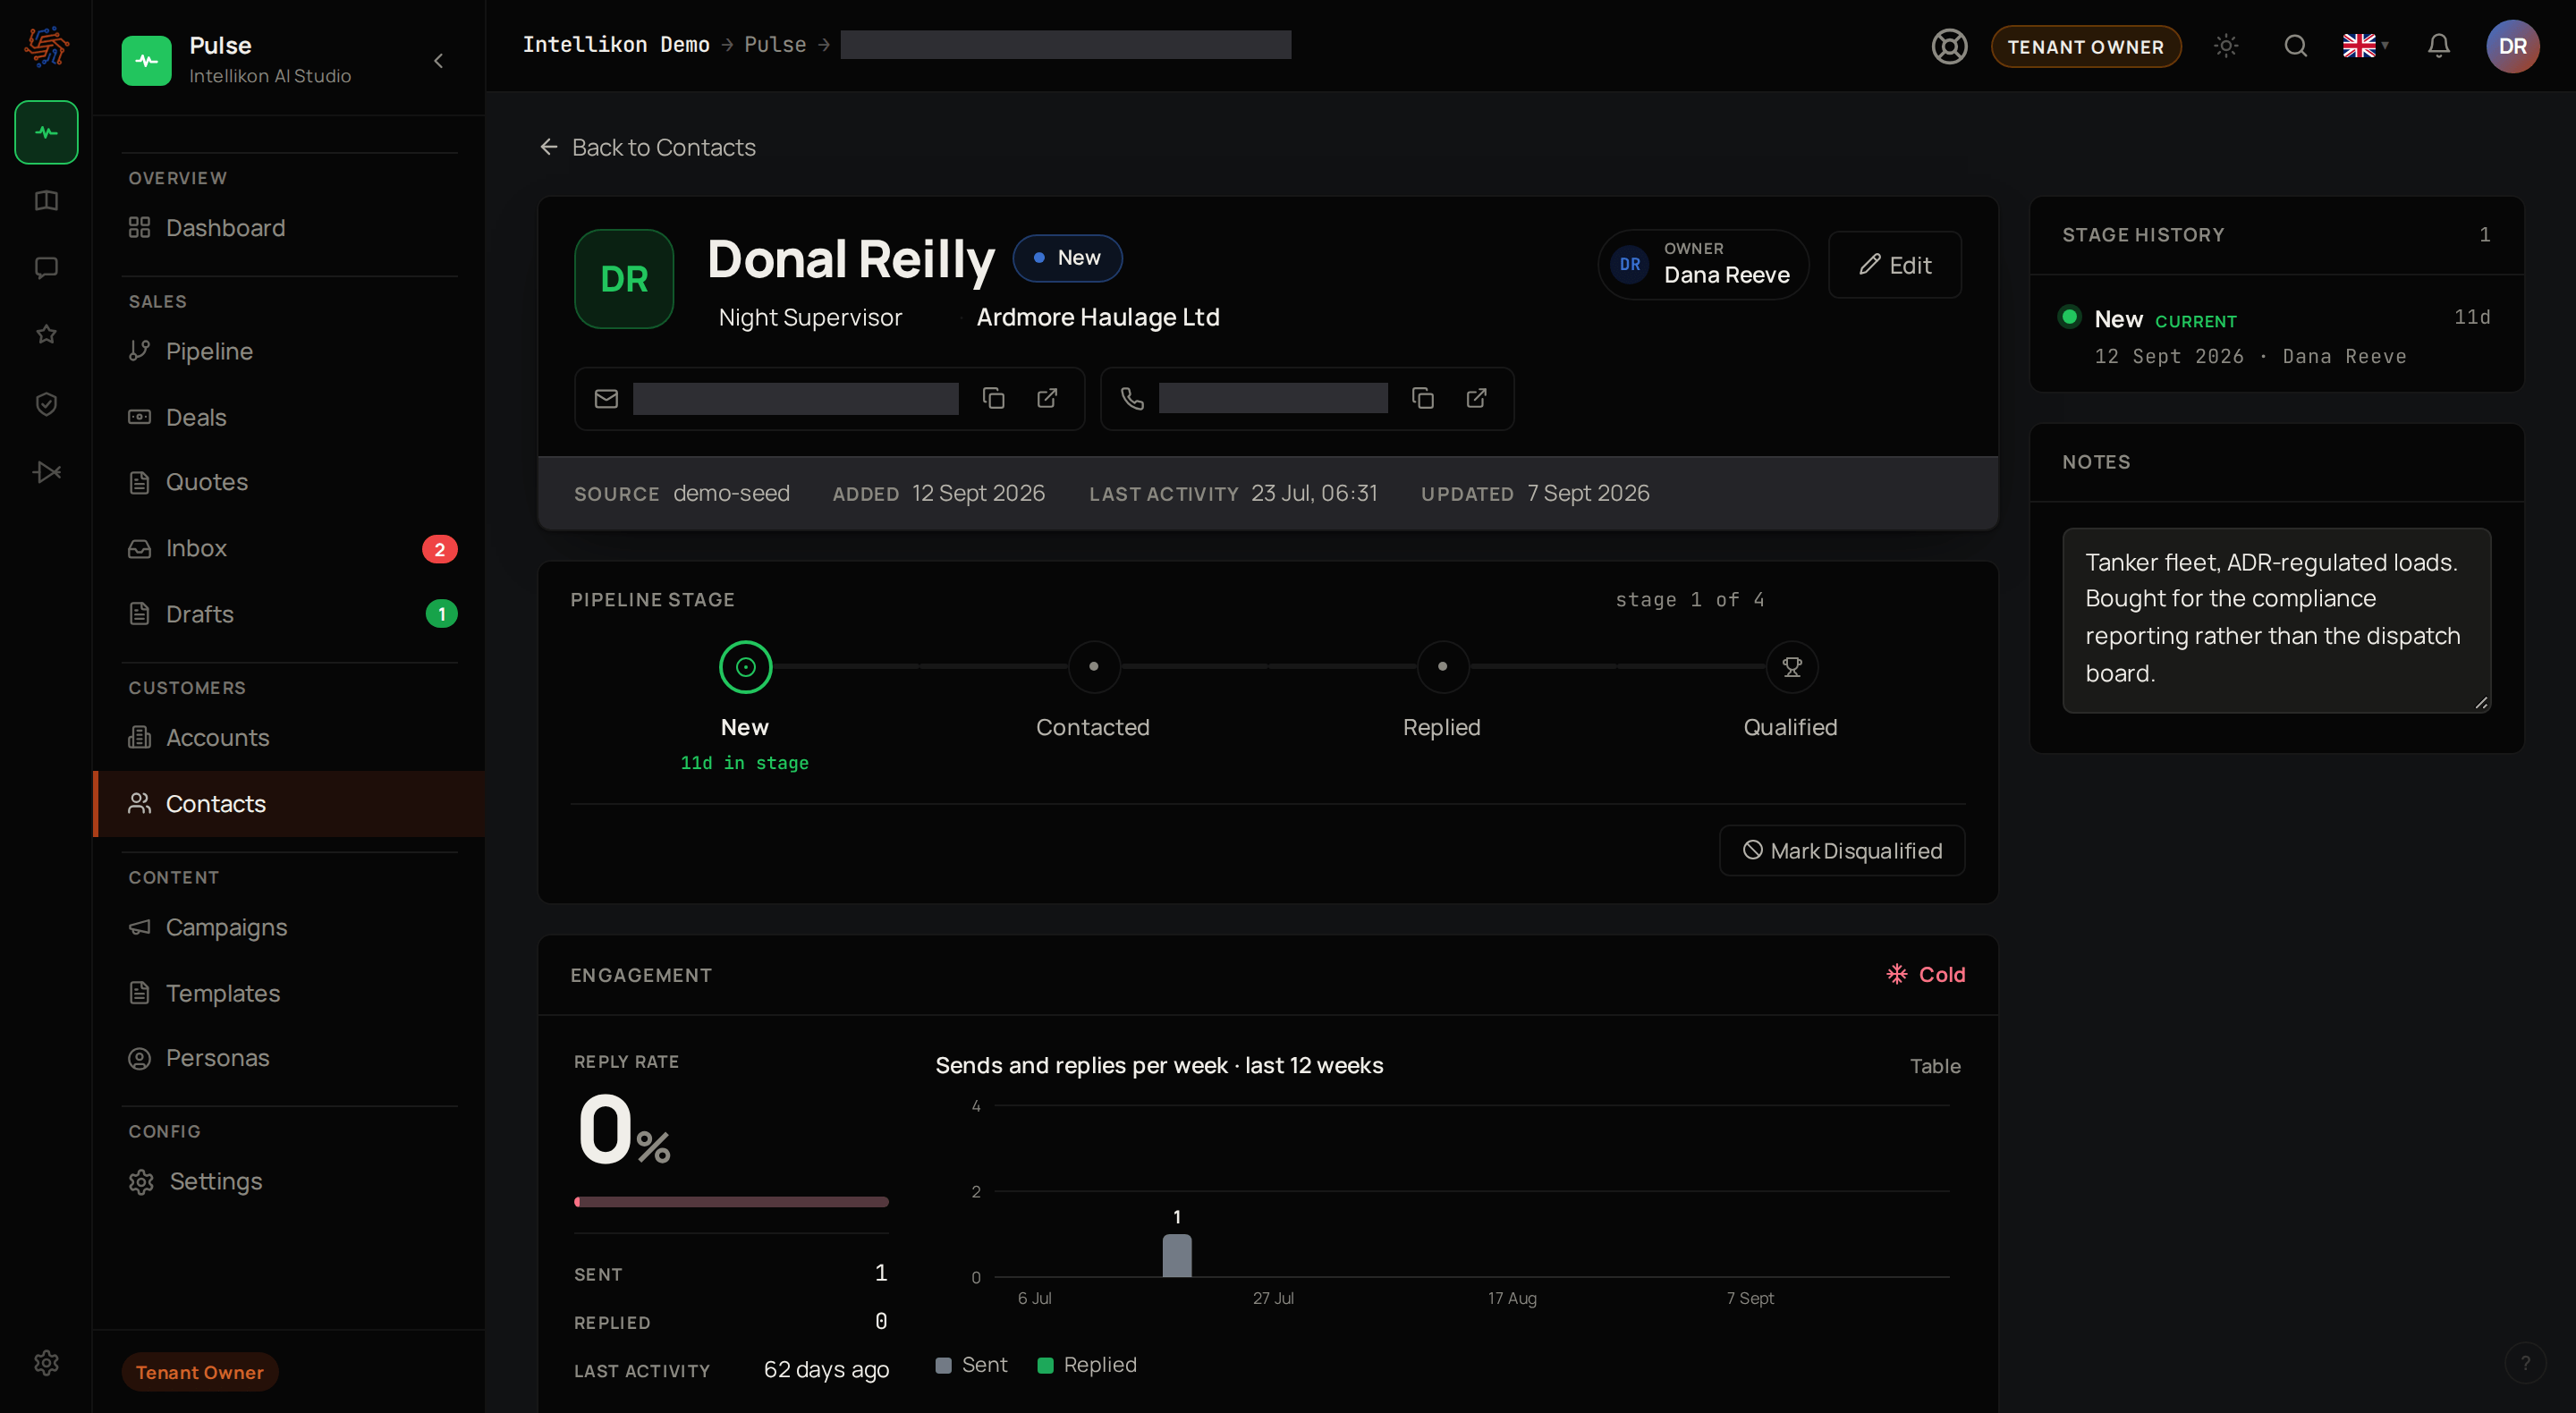
A contact's page, with their name, stage and owner at the top, their email and phone, the pipeline stage, an Engagement panel with the reply rate and a weekly chart, and Stage history and Notes on the right.
Select a contact to open their page. It shows where they are in the pipeline, how they have engaged with your messages, every message sent to them, how their stage has changed, and your notes. Select Edit to change their details. If a contact is not a fit, select Mark Disqualified on their page. They move out of the pipeline, and the change is kept under Stage history. Next, see where your contacts stand.

Choose the language you write to a contact in
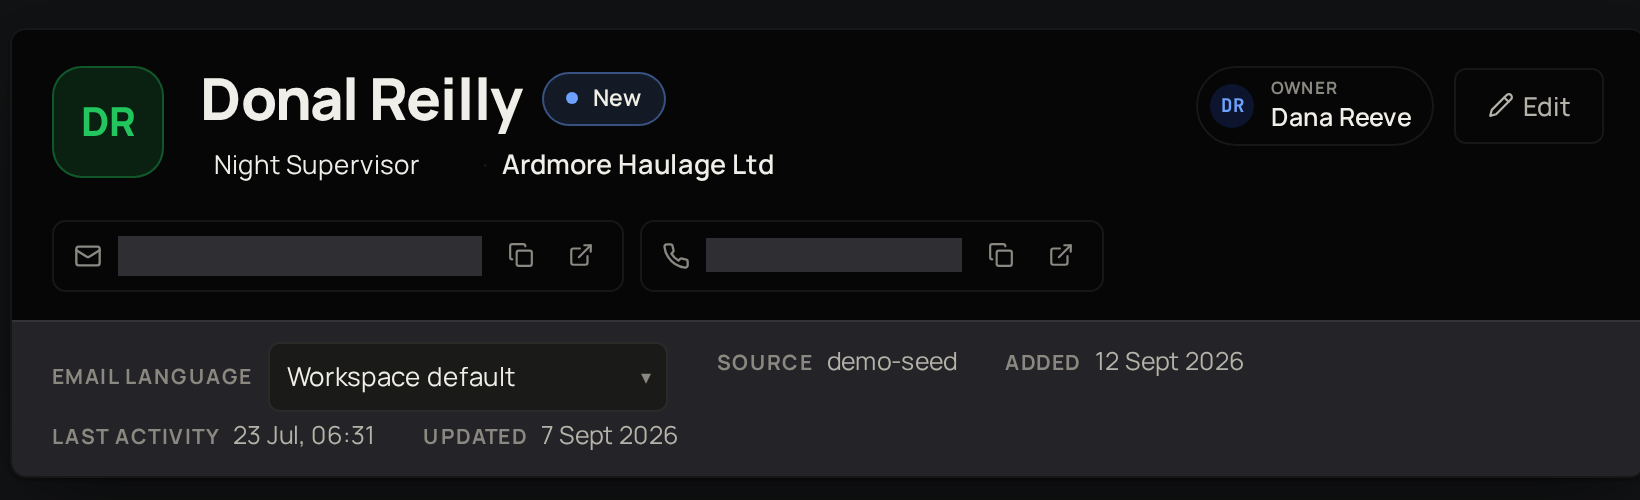
The top of a contact's page, with Email language set to Workspace default below their email and phone.
If your workspace translates outgoing messages, each contact has an Email language, under their email and phone. Pulse writes to that contact in this language instead of the workspace default.
1

Open the contact

Select the contact.
2

Choose the language

Under Email language, choose the language, or leave it at Workspace default to follow the workspace.
The contact’s page now shows the language you chose. Next, add them to a campaign.

Troubleshooting

If Account Domain shows “That is a personal email domain”, enter the company’s own domain instead. If Pulse says your file is too big or has too many rows, split it into smaller files and import each one. Each file can hold up to 5,000 rows and 10 MB. If Pulse says some rows will fail, select Download problem rows, fix what each row lists, then import that file. Every row needs a first name, an email, a company, and the company’s domain or website.