

 Pulse
Pulse Lexis
Lexis Vera
Vera Aegis
Aegis Prism
Prism Nucleus
Before you start
You need a chatbot. Tenant Owners, Workspace Admins and Workspace Members can add and remove sources.Add a file
1
Open the chatbot's sources
Select Chatbots, open the chatbot, then select Manage Sources →.
2
Start adding
Select Add Source, then Upload File.
3
Choose the file
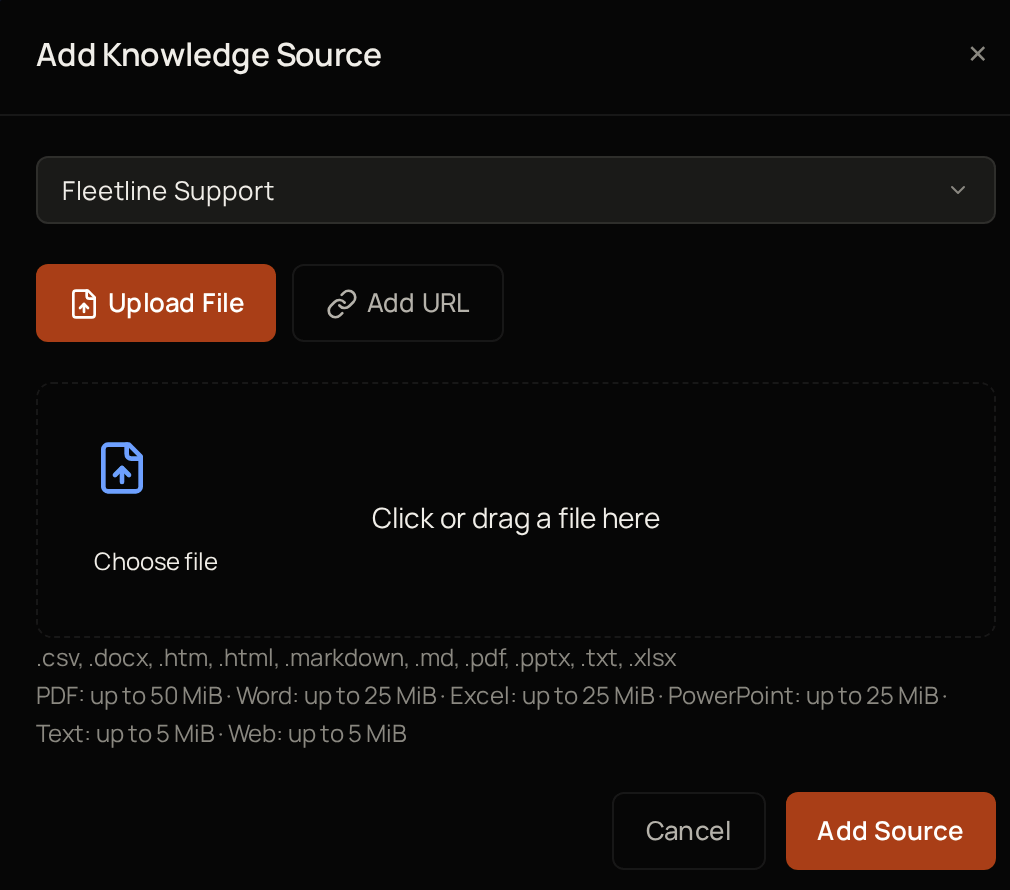
Drag the file into the window. The accepted file types and sizes are listed below Choose file.
4
Or browse for it
To pick the file without dragging, select Choose file instead.
5
Add it
Select Add Source.
Add a web page or video
1
Open the chatbot's sources
Select Chatbots, open the chatbot, then select Manage Sources →.
2
Start adding
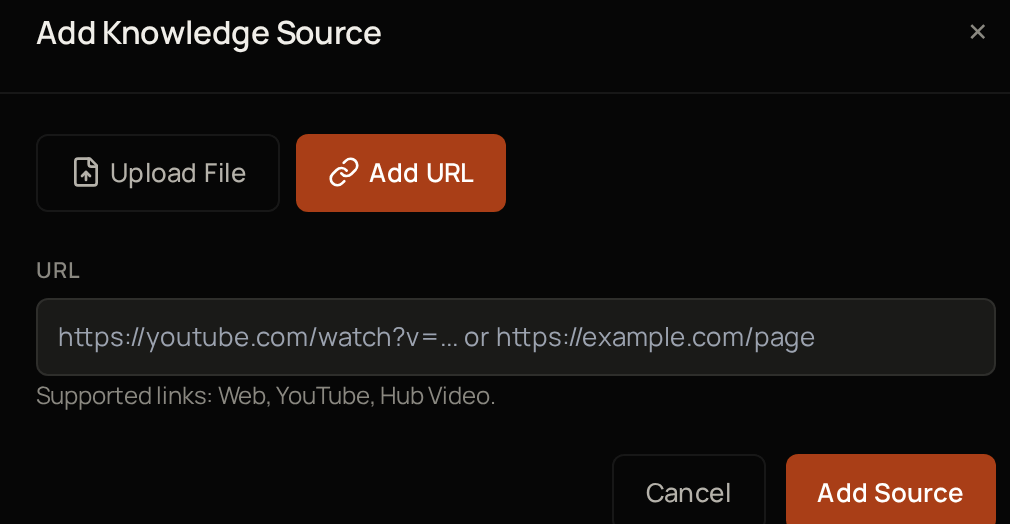
Select Add Source, then Add URL.
3
Enter the address
Under URL, paste the address of a web page or a YouTube video.
4
Add it
Select Add Source.
Add a source from Knowledge
1
Start adding
Select Knowledge, then Add Resource.
2
Choose the chatbot
Under Choose a chatbot, pick the chatbot it is for.
3
Add the source
Carry on as in add a file or add a web page or video.
See all your sources
Knowledge lists the sources of every chatbot in the workspace. The figures at the top count all your sources, whenever they were added. Choose an account under Account to narrow the figures and the list to that account.- Select a chatbot’s name above the list to see only its sources, or All to see every source. Each button shows how many sources it covers.
- Use Search sources…, the type, status and freshness filters, and the sort to find a source.
- The list shows the sources added during the Reporting period at the top of the page. Choose a longer period, or Custom, to see older ones.
Keep sources up to date
Each source in a list has buttons for what you can do with it next:
Select the eye icon on a web page or video to open the original. Next, remove a source you no longer need.
Remove a source
1
Remove it
Select Remove next to the source.
2
Confirm
Confirm that you want to remove it.
Troubleshooting
Vera says "Choose a supported file type from the list below."
Vera says "Choose a supported file type from the list below."
Save the file as one of the types listed in the window, such as PDF, Word or plain text, then add it again.
Vera says "This file exceeds its size limit"
Vera says "This file exceeds its size limit"
Each file type has its own limit, shown in the window: 50 MiB for PDF, 25 MiB for Word, Excel and PowerPoint, and 5 MiB for text and web files. Split the file into smaller parts and add each one.
Vera says "Enter a valid HTTP or HTTPS URL."
Vera says "Enter a valid HTTP or HTTPS URL."
Paste the full address, starting with https://.
A source will not add
A source will not add
A chatbot can have up to 100 sources. Remove one you no longer need, then add the new one.
A source shows Failed
A source shows Failed
Select Retry. If it fails again, check that the file opens on your computer, or that the web page opens in your browser.